Installing Seafile with Docker and Apache 2
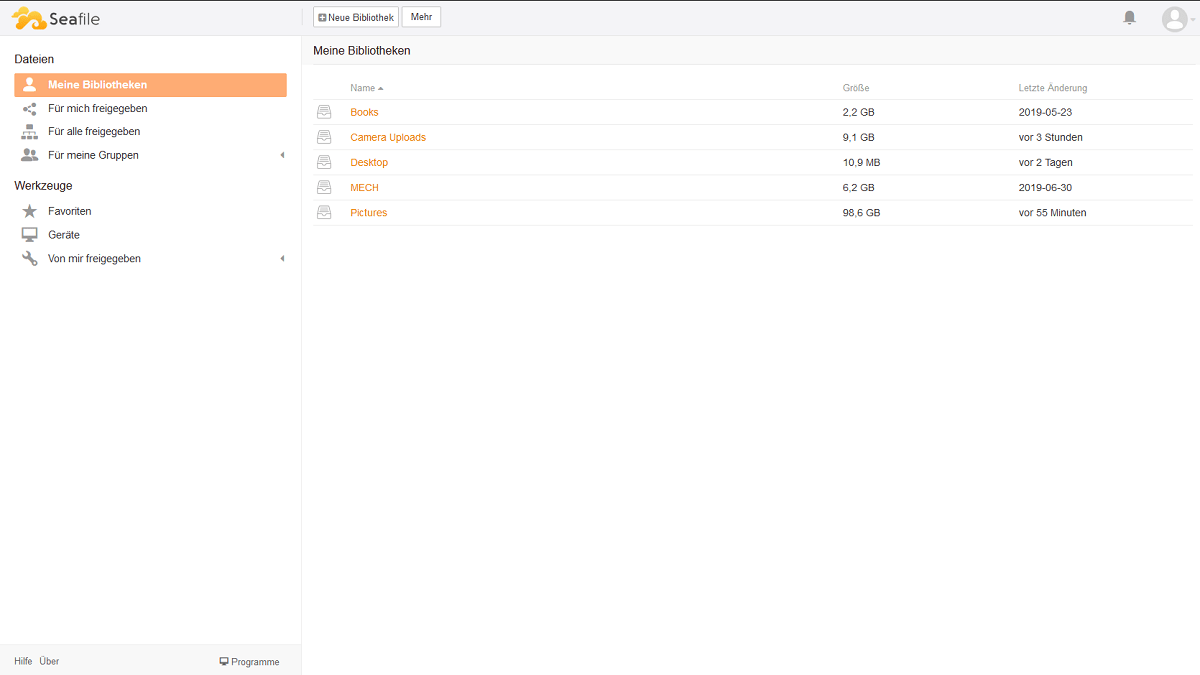
This post is recreated from the original at https://blog.henrypoon.com/blog/2019/06/12/installing-seafile-with-docker-and-apache-2/
Seafile is an open source file sharing software that allows users to set up their own cloud storage at home. Think Dropbox, but self-hosted.
This post describes deploying an instance of Seafile using Docker on a non-standard port (i.e., not 80 and 443). The reason for deploying on a non-standard port is usually because there is already another web server running on standard ports - in my case, Apache 2. In such scenarios, it is necessary to set up a reverse proxy so the Seafile port can be exposed by Apache on ports 80/443. Under typical circumstances, deploying Seafile on a standard port means the app would host itself without needing Apache 2 at all. This guide assumes Ubuntu 16.04, but should apply to other Linux distributions as well.
The process can be split into multiple parts:
- Setup Docker
- Deploy Seafile
- Configure Apache 2
- Setup systemd
- Setup e-mail (optional)
- Backing up the image
- Troubleshooting
Setup Docker
This guide will not go into depth on how to set up Docker. The setup guide and more information about Docker can be found here: https://docs.docker.com/get-started/
Deploy Seafile
The key page in the Seafile documentation for deploying Seafile within Docker can be found here: https://github.com/haiwen/seafile-docker.
The command I used is as follows:
1
2
3
4
5
6
7
docker run -d --name seafile \
  -e SEAFILE_SERVER_HOSTNAME=seafile.example.com \
  -e SEAFILE_ADMIN_EMAIL=me@example.com \
  -e SEAFILE_ADMIN_PASSWORD=a_very_secret_password \
  -v /opt/seafile-data:/shared \
  -p 8000:80 \
  seafileltd/seafile:latest
I recommend setting up Seafile with an actual secret password because it is not easy to change once it is set up.
Note that the port argument shows 8000:80. This means Docker will use host port 8000 while the container uses port 80 - Docker interprets requests from the host OS on port 8000 as requests on port 80 in the container. Port 8000 was used in my setup because port 80 was already in use.
Once the command is executed, the necessary files will be downloaded and the container will start and be accessible on port 8000.
There is also an option to set up Seafile with an SSL cert from Let’s Encrypt, but I did not do this because I already had a certificate I wanted to reuse.
Once the server is up, navigate to the Seafile settings page and change SERVICE_URL and FILE_SERVER_URL to match your domain name.
Configure Apache 2
Adding a reverse proxy on Apache 2 allows Apache 2 to route requests to port 8000, which forwards to port 80 in the container. The main reference for this section is the Seafile manual. This is done by adding a new site to Apache 2. The following configuration assumes a Let’s Encrypt SSL certificate is used.
1
2
cd /etc/apache2/sites-available
sudo nano seafile.conf
1
2
3
4
5
6
7
8
9
10
11
12
13
14
15
16
17
18
19
20
21
22
23
24
25
26
27
28
29
30
31
32
33
34
35
36
37
38
<IfModule mod_ssl.c>
<VirtualHost *:443>
    ServerName seafile.example.com
    ServerAdmin me@example.com

    RewriteEngine On

    # ModSecurity does not process requests.  There is a hard limit of 1 GB
    # with ModSecurity.
    SecRuleEngine Off

    # Whitelist internal IPs for mod_evasive
    DOSWhitelist 192.168.1.*

    <Location /media>
        Require all granted
    </Location>

    # Stuff for seafile server
    ProxyPass /seafhttp http://127.0.0.1:8082
    ProxyPassReverse /seafhttp http://127.0.0.1:8082
    RewriteRule ^/seafhttp - [QSA,L]

    # Stuff for seahub
    SetEnvIf Authorization "(.*)" HTTP_AUTHORIZATION=$1
    ProxyPreserveHost On
    ProxyPass / http://127.0.0.1:8000/
    ProxyPassReverse / http://127.0.0.1:8000/

    ErrorLog ${APACHE_LOG_DIR}/seafile_error.log
    CustomLog ${APACHE_LOG_DIR}/seafile_access.log combined

    Include /etc/letsencrypt/options-ssl-apache.conf

    SSLCertificateFile /path/to/cert/file.pem
    SSLCertificateKeyFile /path/to/cert/key/file.pem
</VirtualHost>
</IfModule>
I added my local domain to the whitelist so that mod_evasive does not think my local host is a threat.
There are two sets of ProxyPass and ProxyPassReverse lines. The reason for this is that Seafile is split into Seahub and Seafile, where one uses port 8082 by default, while the other uses 8000. These lines are what allow Apache to read requests from port 443 and pass them on to the container.
Once the file is saved, execute:
1
2
sudo a2ensite seafile.conf
sudo service apache2 reload
Navigating to the site at the Apache 2 defined port should now load Seafile without having to go to port 8000.
Setup systemd
systemd allows the Docker container to be started up on boot and controlled with service commands:
1
sudo service seafile start/stop/restart
The configuration is as follows:
1
sudo nano /etc/systemd/system/seafile.service
1
2
3
4
5
6
7
8
9
10
11
12
13
14
15
[Unit]
Description=Seafile Server
After=network.target mysql.service

[Service]
Type=oneshot
ExecStart=/usr/bin/docker container start seafile
ExecStop=/usr/bin/docker container stop seafile
ExecReload=/usr/bin/docker container restart seafile
RemainAfterExit=yes
User=root
Group=root

[Install]
WantedBy=multi-user.target
Once the configuration is saved, shut off the existing running instance of Seafile and then let systemd start it up:
1
2
sudo systemctl daemon-reload
sudo service seafile start
At this point, Seafile should start automatically on boot, with Apache 2 doing a reverse proxy to the true Seafile port.
Setup e-mail (optional)
Optionally, Seafile can be configured to send e-mails. The reference is the Seafile email configuration guide. The config file should be at:
1
/opt/seafile-data/seafile/conf/seahub_settings.py
For Gmail SMTP, add the following at the end of the file:
1
2
3
4
5
6
7
EMAIL_USE_TLS = True
EMAIL_HOST = 'smtp.gmail.com'
EMAIL_HOST_USER = 'me@example.com'
EMAIL_HOST_PASSWORD = 'password'
EMAIL_PORT = 587
DEFAULT_FROM_EMAIL = EMAIL_HOST_USER
SERVER_EMAIL = EMAIL_HOST_USER
Backing up the image
After setting everything up, you will probably want to back up the Docker image. First, list running containers:
1
sudo docker ps
Then take a snapshot of the current running state:
1
docker commit -p <container ID> <snapshot name>
List all images to confirm the snapshot was saved:
1
sudo docker images
If you do not have a private Docker repository, save the image to disk:
1
sudo docker save -o <backup path>/<filename>.tar <snapshot name>
To restore, load the image:
1
sudo docker load -i <path to backup file>
Then start the container:
1
sudo docker run <container name>
Troubleshooting
Seafile logs can be helpful if it does not start up correctly. These can be found at:
1
/opt/seafile-data/logs/seafile
You may need to SSH into the Docker container:
1
sudo docker exec -it seafile /bin/bash