Snoopy LEGO Mosaic
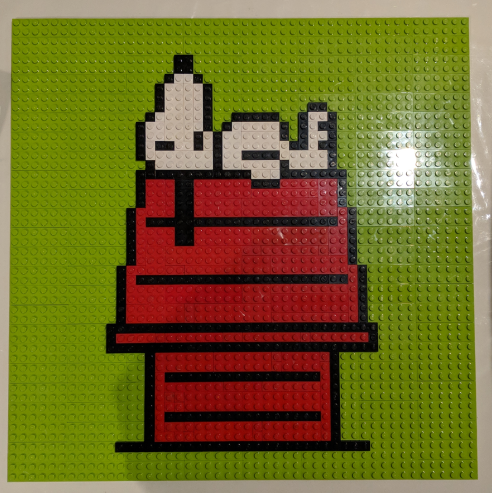
Before experimenting with more complicated LEGO mosaics, I started with a simpler build: Snoopy sitting on top of his red dog house.
Starting With Pixel Art
The idea behind these mosaics is straightforward: treat LEGO pieces as pixels.
I drew Snoopy and his dog house as pixel art, then matched the image dimensions to a LEGO baseplate. Each position on the grid represents a location that needs to be filled with a LEGO piece.
From Pixels to Bricks
Once the pixel-art version was ready, I ran it through PicToBrick. The software converts the image into a LEGO mosaic.
That makes the model easier to assemble and produces a more practical bill of materials.
An Easy Parts List
The Snoopy dog house was also a forgiving choice because it used only a few colours:
- Red for the dog house
- White for Snoopy
- Black for Snoopy’s outline and details
With such a limited palette, the bill of materials was relatively easy to source
Choosing a Background
The background did not need to match a specific scene, so I did not include it in the planned design.
Instead, I went to a LEGO Store and used the Pick a Brick wall to buy enough pieces in an arbitrary background colour to fill the rest of the baseplate.
This was a convenient compromise. The important part of the image was Snoopy and the dog house; the surrounding colour only needed to provide contrast and hold the mosaic together.